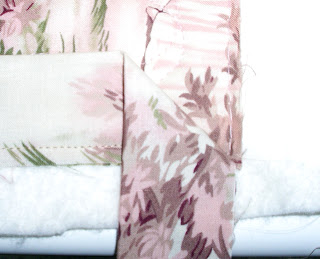
I have a number of methods I use in my quilting to speed things up a little. One of my favourites is to join my binding with a mitre in the corner. This is also useful if you want to have different coloured binding on each side of your quilt.
Make your binding whatever size you normally do. Starting 1/4" from the top edge, start sewing your binding on the side of the quilt. Take two stitches, backstitch two stitches, then off you go sewing around the quilt. If I am making a one colour binding, I turn the three other corners as shown in every quilt book out there.
When you get close to the corner you want to mitre, turn back the binding that you started with to look like the picture above. This is so you have a reference point. Stitch the binding right up to the turned back piece. You should be able to feel the fold with your finger. Once again backstitch a couple of stitches.
When you turn back the second end, this is what your corner should look like. Trim the batting and backing taking a little extra out of the corner.
Fold your quilt on the diagonal, right sides together. The two binding pieces should be even. Make sure all your seam allowances are turned towards the body of the quilt.
To make it easier to see, I have drawn where I am going to sew. The diagonal line coming out from the corner should be in line with the fold of the quilt. At the middle of the binding you make a 90 degree turn and sew out to the edge of the binding. When you start to sew you will have to start about 1/4" from the corner and backstitch to about 1/16" from the stitch line of the binding. You leave a little space here so that you can ease in any fullness. When you reach the outer edge you will once more need to backstitch.
Trim the seam to a scant 1/4" taking a little extra out of the corner.
Turn the binding right side out. If your stitches are a little loose and you are concerned about them showing, you can always colour them with a pigma pen. Most of my quilts have one corner of the binding mitred, for my join, and the remaining three corners are turned as below.
Most people would not see the difference. This method would not be used on a quilt you wanted to win a blue ribbon for in a juried show. However, my quilts are all meant to be used and loved, so this is a quick way to complete them. It usually takes me less than a minute to mitre my corner. Your first try might take a little longer, but after you have done a few, you will see how easy it is. Let me know if you try it, and happy quilting.


What a fabulous idea! Thanks for this tutorial! Great pictures and instructions, I think I can do it! I've never heard of making a two color binding, so each side of the quilt has a different binding fabric Would love to know how you do this.
ReplyDelete